The Ultimate Guide to Assembling the Generac GP 6500 Generator
Table of Contents
- Introduction
- Unboxing and Preparing to Assemble
- Assembling the Legs
- Attaching the Wheels
- Adding the Handle
- Final Touches and Preparing for Use
- Conclusion
Introduction
In this article, we will be discussing the assembly process of a generator. Many people struggle with putting together their newly purchased generators, and often turn to YouTube tutorials for guidance. However, the available videos may not be up to par. Therefore, we have decided to create a step-by-step guide to help you assemble your generator with ease.
Unboxing and Preparing to Assemble
Before jumping into the assembly process, it's important to make sure you have all the necessary tools and components. We will provide a list of items needed and walk you through the initial steps of unboxing and preparing the generator for assembly.
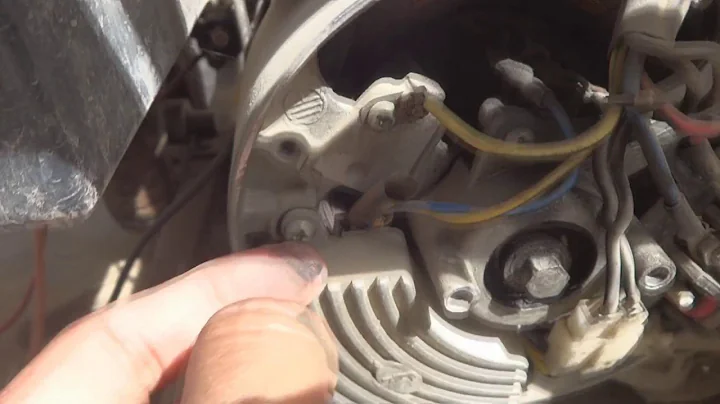
Assembling the Legs
The first major step in the assembly process is putting together the legs of the generator. We will guide you through the process of attaching the necessary components and securing them properly. We will also address any potential challenges you may face during this step.
Attaching the Wheels
The next step involves attaching the wheels to the generator. We will provide a detailed explanation of how to install the wheels correctly and ensure they are securely fastened. Additionally, we will discuss the importance of using the correct washers and cotter pins during this step.
Adding the Handle
One crucial aspect of a generator is its handle, which allows for easy transportation. We will guide you through the process of installing the handle and securing it firmly in place. We will also cover any potential safety mechanisms associated with the handle.
Final Touches and Preparing for Use
After completing the assembly process, there are a few final touches you may need to consider. We will provide guidance on how to handle the air filter and any required maintenance or adjustments before putting your generator to use.
Conclusion
By following our step-by-step guide, you should be able to assemble your generator successfully. We hope that this article has provided clarity on the assembly process and addressed any potential challenges you may face. Remember to refer to your generator's manual for any specific instructions or requirements.
Assembling Your Generator: A Step-by-Step Guide
Introduction:
So, you've just purchased a generator, but now you're faced with the daunting task of putting it together. Don't worry; we've got you covered! In this article, we will provide you with a detailed step-by-step guide on how to assemble your generator with ease. Whether you're a seasoned DIY enthusiast or a complete beginner, our guide will walk you through the process from start to finish.
Unboxing and Preparing to Assemble:
Before diving into the assembly process, it's essential to gather all the necessary tools and components. Most generators come with an instruction manual that lists all the required items. Take some time to check that you have everything you need before proceeding. Once you have everything ready, it's time to unbox your generator and prepare it for assembly. Ensure you have a clear workspace and enough room to maneuver the components.
Assembling the Legs:
The first major step in assembling your generator is putting together the legs. This step requires precision and attention to detail. Begin by identifying the components needed for each leg. Typically, you will require specific brackets, bolts, and washers. Follow the instructions provided in your manual to attach the legs securely. Make sure to tighten all the bolts adequately to ensure stability.
Attaching the Wheels:
Once the legs are securely attached, it's time to move on to the wheels. Installing the wheels correctly is vital for easy mobility. Refer to your manual to determine the type of washers and cotter pins required for this step. Ensure that the wheels rotate freely and are securely fastened. This will prevent any wobbling or instability when moving the generator.
Adding the Handle:
The handle is a crucial component that allows you to transport your generator easily. It's important to install the handle correctly to avoid any accidents or damage to the generator. Follow the step-by-step instructions in your manual to attach the handle securely. Some generators may have additional safety mechanisms associated with the handle, such as locks or levers. Make sure these are properly engaged before use.
Final Touches and Preparing for Use:
Once the main components of the generator are assembled, there are a few final touches to consider. Check the air filter and follow the instructions on how to install it properly. Additionally, ensure that all the bolts and screws are tightened, but be cautious not to overtighten. Finally, fill the generator with the required amount of oil and add the appropriate fuel. It's a good idea to test the generator before storing it or putting it into regular use.
Conclusion:
Assembling a generator may seem challenging at first, but with our step-by-step guide, you'll have your generator up and running in no time. Remember to take your time and carefully follow the instructions provided in your manual. By paying attention to detail and ensuring all components are securely attached, you can enjoy the benefits of your generator for years to come.
 Saas Video Reviews


 WHY YOU SHOULD CHOOSE SaasVideoReviews